It seems like this darn fridge should be done by now?
We'll it's not quite there but getting closer every day. I guess that we are just getting too distracted by the warm weather and want to work on some outside projects.
The trim is finally going up on the top. Here you can see a picture that shows the piece off gooseneck molding being glued up as well as the top trim beam that goes around the door when it is in place.

The return moldings were also formed and put in place.

Yikes, time to drill some more holes in the fridge. This time they are for attaching the two piano hinges that attach the actual fridge door to that of the unit.

Now time to get those doors fit and up in place. The doors attach in two places; to the side L shaped piece that was put in a long time ago and the edge of the actual existing fridge door
The edge of the doors were trimmed and a small rabbit was cut into them to fit the hinges. Great chance to use that old rabbit plane that has been just collecting dust.

So here is how the door gets mounted to the L shaped panel. The end that is just floating free is the one that is cut with the rabbit that will attach to the piano hinge. You can see those hidden barrel hinges attaching the L piece with the rest of the unit.

This is a picture of what the door looks like installed and open a little. You can see where the piano hinge interfaces the fridge and unit doors. You can also see the other door that has its hinge but does not have its panel on yet.

So here it is with the door panels fit and hung and the bottom panels just resting in place with tape. The next step will be to figure out what we want to use for hardware and to take it all apart and put the finish onto it.


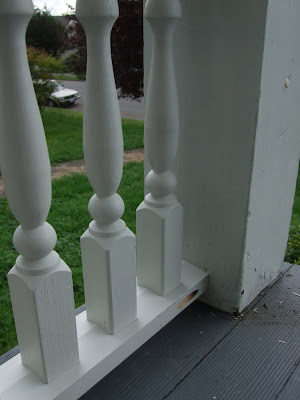
 The top rails and spindles are attached using pocket screws. To put in the pocket screws the angled pockets are drilled with a jig and the Robertson washer head screws are used in the pockets to pull it tight. Once everything is in place angled plugs will be used to fill the holes. There is still quite a bit of sanding/filling/painting left on these but it is nice to get them out of the house and up.


