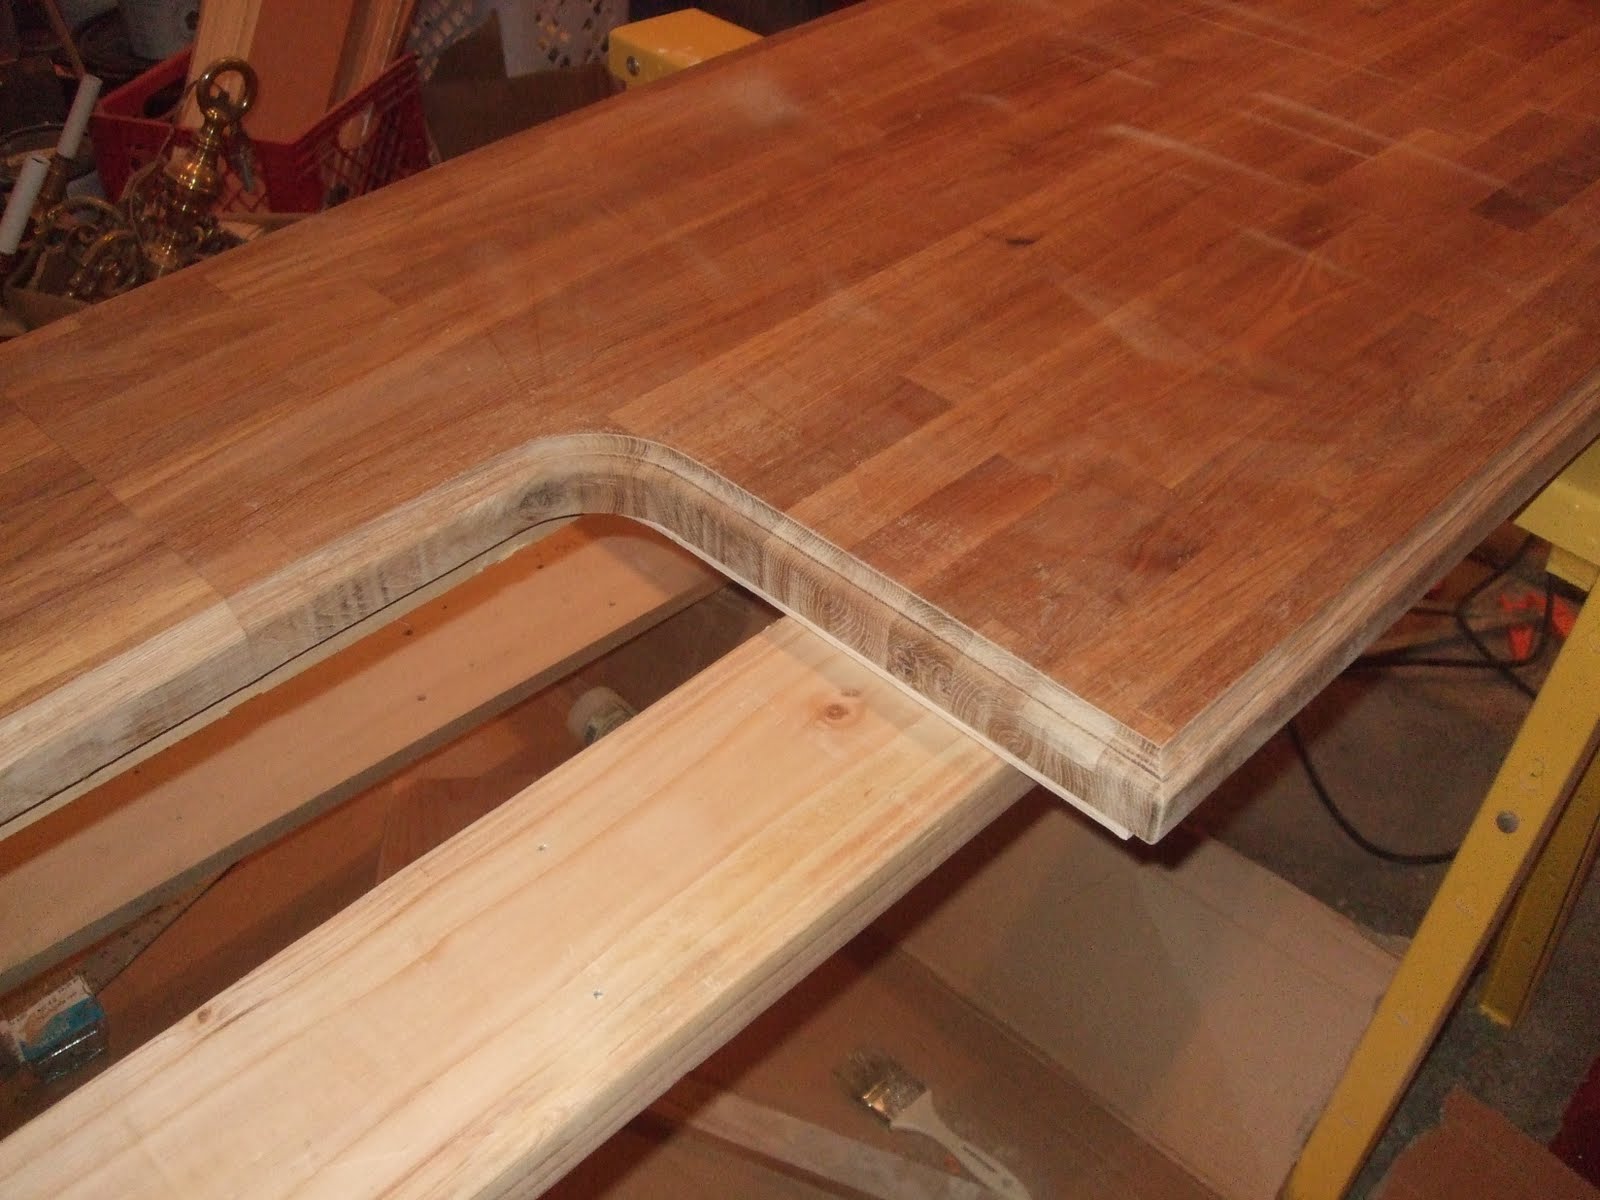
We started working on the wood counter top that will go in front of the windows around the sink and over the dishwasher. Believe it or not the wood blank is from Ikea! It is made from some variety of European oak that is much lighter in grain then a white or red oak that I am used to. The piece is not long enough for the full length of the counter so we have to do some tricky cutting and joining. The first picture shows the cuts marked on the panel.
Next up is to cut to the lines with a circular saw and a straight edge.
Finish it up with the jig saw.
You can see the piece that was cut out now in place between the two side pieces. There is no wood to spare! The joint on both sides are faced with a router prior to jointing.
On the back additional T-slots are cut to fit bolts that will be used to lock the panels together from underneath. Three additional wood biscuits were cut for each joint to help align the face side.
Here you can see the joint with a support piece of wood under it just following glue-up with the epoxy.
Everything is still a little rough as far as size goes, we will make a template with a piece of 1/4" plywood. This will then be used as a guide for the router to make the final trim. Nice light coming through the windows at the end of the day....