Sunday, August 28, 2011

Front of house and porch - cleaned and painted


Baseboard and trim - downstairs almost complete

 We worked at painted up more trim pieces and putting together more baseboard, especially in the kitchen. All the downstairs trim was also painted after filling and sanding it.


 There is now no more baseboard left to complete in the entire downstairs! Did we mention yet that we agreed to be on the Historic Home Tour this year? It takes place in two weeks - not much time to finish and clean what we hope to.

Stairs - painting, adding baseboard, more stripping

 Kristen started painting around the stairs just to get a first coat of paint on. There is still stuff left to pick at on the treads but we figured it would be nice to see more of what they would look like.
 You can see here that only the top step is finished and urethaned.

 Tyler also added the baseboard cap along the stairs so that got caulked, sanded, and painted as well.
 It's nice to add some fresh paint to make the process seem like it is progressing.
 

Tuesday, August 23, 2011

Wood countertop routed and stained

A template was created for the counter top based on the wall profile, cabinet tops and sink. Here you can see the template pulled back from the edge.
This template was attached to the bottom of the rough cut counter top and a 3" flush cutting router bit was used to trim the counter to the finished size. This operation also squared up all of the edges. Kristen was there with the vacuum to catch all of the dust and shavings so we didn't make too big of a mess in the house.

Next up came routing the edge profile around the front edge.


A little bit of sanding and the top was ready for the coats of danish oil. This is what it looks like when it is flooded onto the surface. It sits on there for about an hour.
 And then gets wiped off.
 

The oil still has to dry for another 72 hours before the urethane can be applied. While that is drying the holes for the sink faucet are drilled with a fostner bit.

Here is what the sink looks like placed in there (just for looks).
 

Sunday, August 21, 2011

Walla Walla road trip

 We drove east to Walla Walla on Friday to pick up Tyler's new truck. It was very dry and hot and the landscape was very desert-like. There were lots of windmills.
 and farm land - this is prime cherry/apple/onions/grape growing land
 The roads were long and pretty much empty

 with some pretty gorges along the Columbia and Snake rivers
 and we got Tyler's new vehicle - a 2011 Toyota Tacoma 4x4
 It was a long round trip for the day - 17 hours - but we got to see a part of Washington we had never seen before.

Retaining wall - backyard - more progress


Tyler had to move a lot of dirt and about 100 blocks to make room to work more on the wall. Next step is to start working on the stairs up to the top.

Sunday, August 14, 2011

Wood Countertop

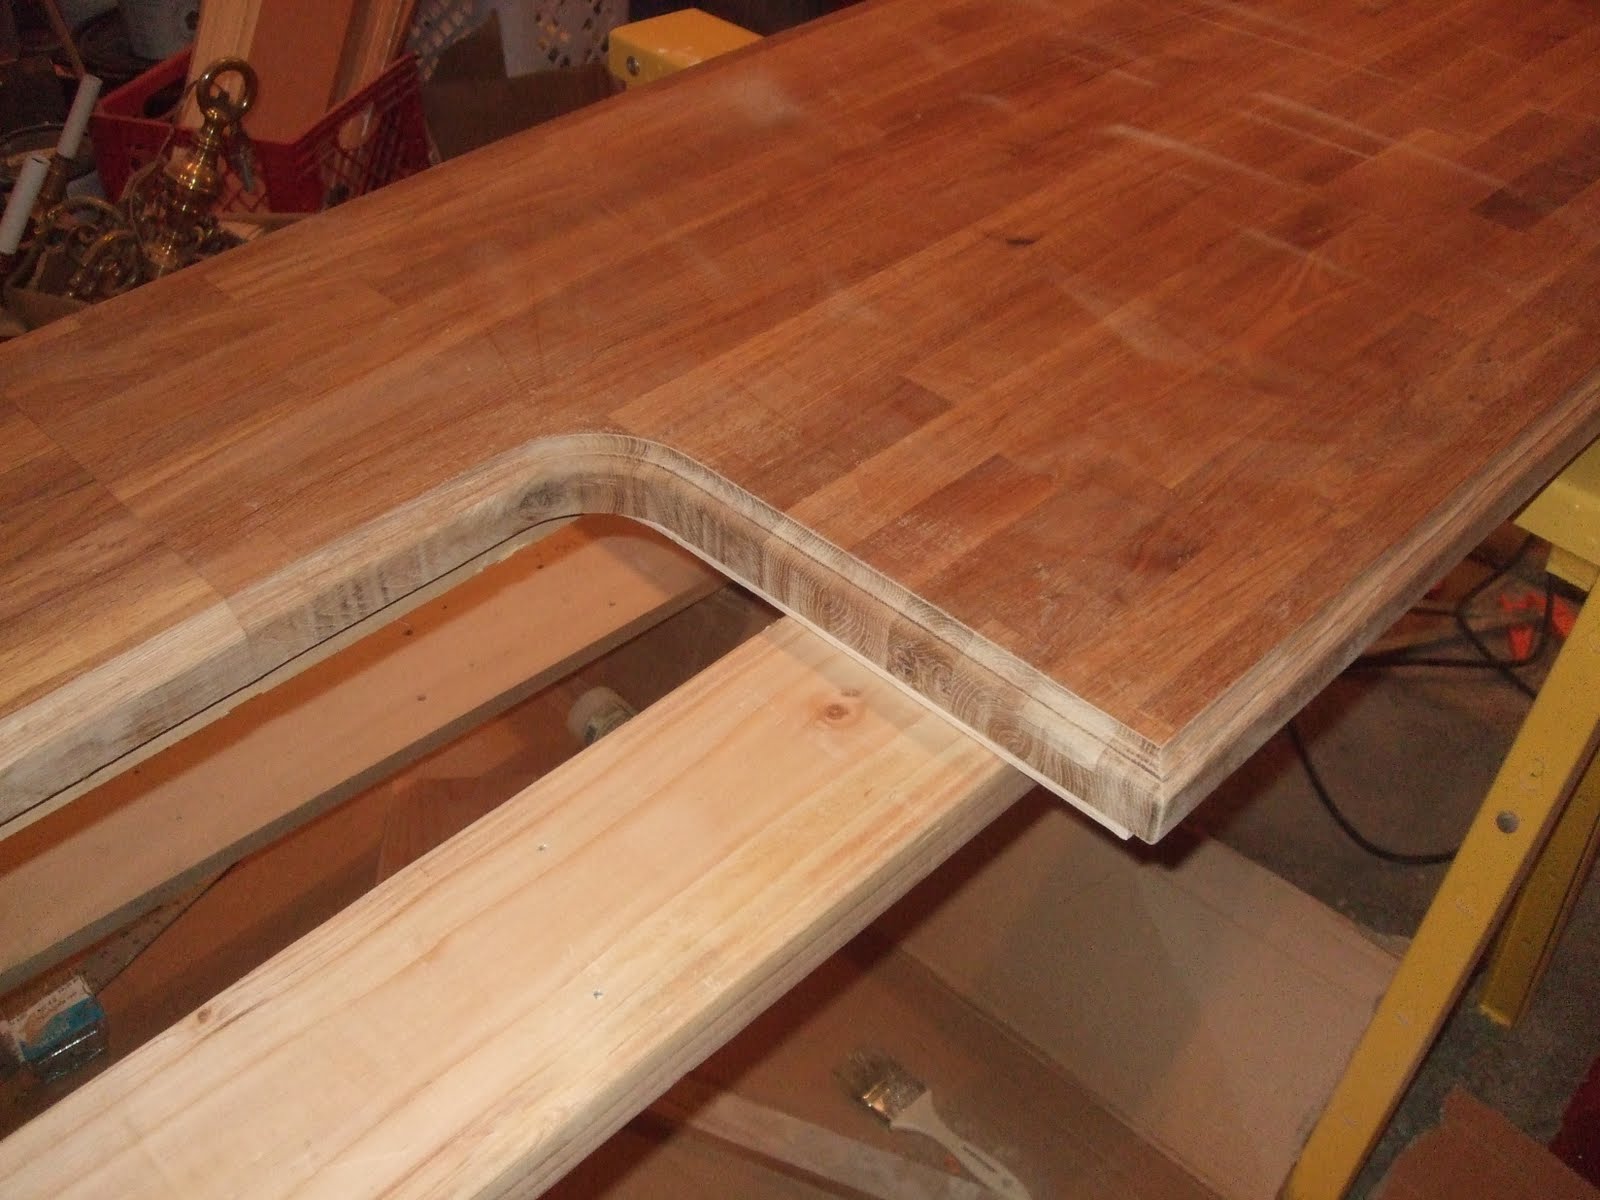
We started working on the wood counter top that will go in front of the windows around the sink and over the dishwasher. Believe it or not the wood blank is from Ikea! It is made from some variety of European oak that is much lighter in grain then a white or red oak that I am used to. The piece is not long enough for the full length of the counter so we have to do some tricky cutting and joining. The first picture shows the cuts marked on the panel.
Next up is to cut to the lines with a circular saw and a straight edge.
Finish it up with the jig saw.
You can see the piece that was cut out now in place between the two side pieces. There is no wood to spare! The joint on both sides are faced with a router prior to jointing.
On the back additional T-slots are cut to fit bolts that will be used to lock the panels together from underneath. Three additional wood biscuits were cut for each joint to help align the face side.
Here you can see the joint with a support piece of wood under it just following glue-up with the epoxy.
 
Everything is still a little rough as far as size goes, we will make a template with a piece of 1/4" plywood. This will then be used as a guide for the router to make the final trim. Nice light coming through the windows at the end of the day....

Saturday, August 13, 2011

Trim around window, under stairs, top of doors

We put some more of the trim up around many of the windows, doors and stairs. The first pictures show the trim that was placed along the bottom of the existing stair trim. We still need to come back in with some of the wall paint.
This trim took a little longer because it had to be machined to match the existing trim on the bottom of the windows. These pictures show the trim on the bottom of the new kitchen windows.

Some of the doors also needed some new trim added to their tops. This was milled on the table saw and router table to match the houses original trim.